Silicone rendering in Wakefield
Silicone rendering in Wakefield
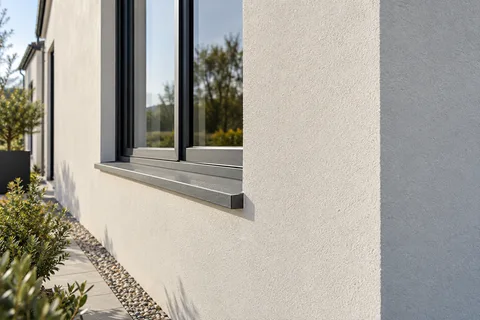
Silicone render is a thin, ready-mixed, through-coloured finish made with silicone resin. It is not a paint and it is not a full render on its own: it is the top layer of a system, trowelled on over a cement-based base coat and a primer. People choose it because the colour runs right through the finish, it sheds water well and it gives a fine, even texture without the repainting a painted render needs.

On this page
What a silicone render system is made of
Taking K Rend's system as an example, there are three layers. The base coat does the levelling and carries the reinforcement: K Rend's HP12 base coat goes on at a nominal 4–6mm and needs alkali-resistant mesh at stress points such as door and window reveals. A primer, K Rend's Primer TC, is then applied in a colour matched to the finish and left 24 hours. The silicone topcoat is the thinnest layer of all. K Rend's TC 15 instructions say to apply it to the thickness of its largest grain, 1.5mm in that product, using a stainless-steel float, and then rub it up in a circular motion with a plastic float to create the texture.
Each layer needs time. The same TC 15 instructions ask for a freshly applied base coat to be left at least 14 days before the topcoat work starts. That waiting period is why a silicone job on a whole house is spread over weeks, with the scaffold standing between stages.
Strip or repair the old surface until the wall is sound, clean and free of efflorescence.
Fix bell-cast, stop and corner beads.
Apply the base coat and bed alkali-resistant mesh into it, with extra mesh at window and door corners.
Leave the base coat to cure for the time the system requires.
Roll or brush on the primer, tinted to the topcoat colour, and let it dry.
Float the silicone topcoat on to grain thickness, rub it up with a plastic float and keep a wet edge across the whole elevation.
Protect the fresh finish from rain and fast drying until it has set.
- Sound background A background accepted by the specified system. Keeping old render requires a system-specific assessment of its bond and condition.
- Beads Corner, stop and base beads set the edges and straight lines.
- Basecoat with mesh Glass-fibre mesh embedded in the basecoat resists cracking.
- Primer Where the system requires it, tinted towards the finish colour.
- Silicone finish A thin, through-coloured, water-repellent coat that forms the texture.
Wall on the left, finish on the right. Not to scale: coats, thicknesses and primers follow the chosen manufacturer’s system and the condition of the wall.
When silicone suits the wall, and when it does not
Silicone works well on new blockwork, on brick once a base coat has been applied, and on old render that has been stripped back or proven sound and then given a fresh base coat. It suits owners who want a crisp, even colour without repainting, and it is also one of the finishes used over external wall insulation boards. It is a poor choice for hiding a problem. Hollow, cracked or salt-stained render under a thin finish will show through or push it off, so the base has to be right first.
It is also the wrong system for a traditional stone or lime-rendered wall that relies on drying out through its face. In the Wakefield district, appraisals for Ossett and Horbury describe sandstone as the main walling material, and the SPAB warns that dense, rigid coverings on old walls can trap moisture. On a wall like that, a lime render or careful repair of the stone is usually the better conversation.
The details that make or break a silicone finish
Because the finish is so thin, it shows everything beneath it. Day joints are the classic fault: K Rend asks for continuous surfaces to be completed without interruption, working to a wet edge, so a full elevation is finished in one go with enough people on the scaffold to keep ahead of the drying edge. A stop halfway across a wall leaves a visible line. Edges need beads, sills need to project beyond the finished face with a drip, and the render should stop above the DPC on a bell-cast bead so the bottom edge stays dry.
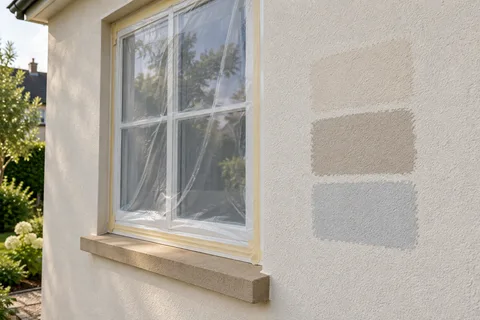
Masking matters more than with paint. The primer and topcoat stain glass, brick and uPVC frames, so all adjacent surfaces are covered before work starts. Weather protection matters too: fresh silicone has to be kept off rain and out of strong drying sun and wind until it has set, which usually means scaffold sheeting on exposed elevations.
Living with a silicone render
Silicone finishes are water-repellent and K Rend says its TC 15 contains a biocide against moulds and algae, but that does not make them maintenance-free. North-facing walls, walls under trees and areas beneath leaking gutters can still green over in time. A gentle clean with a product suited to the finish, rather than a high-pressure jet that can strip the texture, keeps it looking fresh. Keep a note of the system, colour reference and grain size, because a later repair or a moved pipe is much easier to match when you know exactly what was used.
Common questions
Is silicone render the same as external insulation?
No. Silicone is the finish. It can go over a base coat on bare masonry or over insulation boards as part of an insulation system, but the insulation is a separate, designed layer.
Can silicone render go straight onto old pebbledash?
Not straight on. The old surface has to be sound and level, which usually means removing the dash or applying a full base coat over it once its bond has been checked.
See housing and planning information for Wakefield and nearby places, including the source and geography behind each figure.