House rendering in Wakefield
House rendering in Wakefield
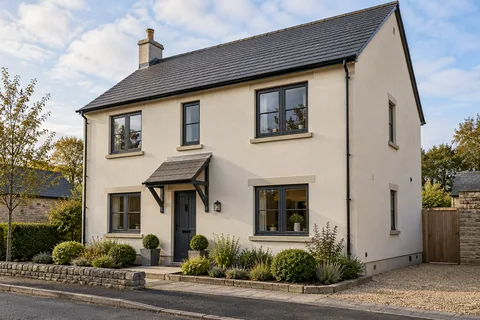
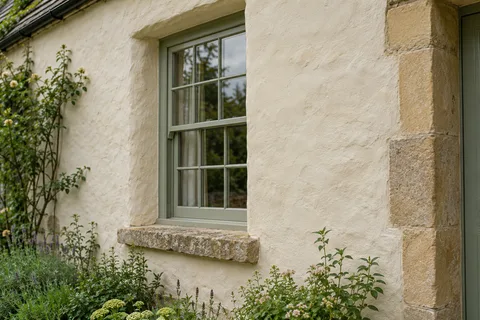
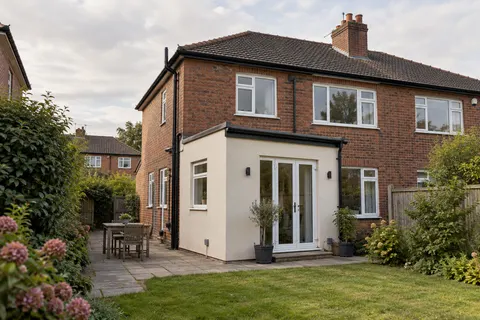
A whole-house re-render means every elevation is stripped or prepared, built back up in fresh coats and finished in one colour and texture. It suits a house where the old render is cracked or hollow over large areas, where years of patches no longer match, or where you want a new look across the front, sides and rear. It is a bigger job than a colour change because the wall underneath becomes part of the work.

On this page
How a whole-house job runs, elevation by elevation
The survey starts with a tap test. A light knock sounds solid where render is bonded and dull or drummy where it has come away from the wall. Hollow patches are chalked out, because their extent usually decides whether the old render can stay. Cracks are mapped as well: fine crazing across the surface is a different problem from a crack running diagonally away from the corner of a window, which points to movement around the opening. The surveyor also checks the damp-proof course line, the window sills and the tops of bay roofs and porches, where water collects and render often fails first.
If most of an elevation sounds hollow, patching rarely makes sense and the render comes off. It is cut away with a bolster and lump hammer or a light breaker. Depending on the house, what comes away may be sand-and-cement render, an old dashed finish or a much older lime render, and behind it there may be brick, sandstone or blockwork. Removal often uncovers bricked-up openings, old timber lintels, soft joints or earlier patching, and those are dealt with before anything new goes on.
Survey each face: tap-test for hollow render, map the cracks, check sills, copings and the DPC line.
Scaffold the house and sheet or mask windows, doors, paths and planting.
Hack off failed render back to sound masonry and bag the debris.
Repair the masonry: rake out loose joints, replace spalled brick or stone, dub out deep hollows.
Fix beads: bell-cast at DPC level, stop beads against retained brick, corner beads on external angles.
Apply the base coat, bedding reinforcing mesh at window and door corners.
Apply the finish coat to each elevation in one working session.
Strike the scaffold once the finish has cured, refit fittings and check every edge.
- Scaffold and protection Windows, doors, paths and planting are covered; downpipes, lights and satellite brackets come off.
- Old finish tested or removed Failed render is removed; the survey decides whether any sound areas can remain within the specified system.
- Masonry repairs and beads Cracked bricks and open joints are repaired; corner, stop and base beads are fixed.
- Base coats Sand-and-cement scratch and float coats, or a manufacturer basecoat with mesh.
- Finish coat A painted, scraped or thin-coat coloured finish, applied in suitable weather.
- Fittings and junctions Fittings are refixed through the new surface; sills, roofline and abutments are sealed.
The usual order of work. The survey and the chosen products decide the actual steps.
Building the new render back up
Preparation fills in what removal reveals. Loose joints are raked out and repointed, damaged units replaced, and deep hollows dubbed out with a stiff mix so the base coat can go on at an even thickness. Very smooth or very absorbent surfaces get a bonding coat or primer so the render grips evenly. The beads go on next. A bell-cast bead runs along the bottom of the render just above the DPC and kicks the lower edge outward, so rainwater drips clear of the wall below. Catnic's data sheet for its PVCu bell-cast bead describes that use at DPC level and above or below doors and windows, fixed at no more than 600mm centres.
The new render is then built up in layers. For a thin-coat silicone or acrylic finish, a cement-based base coat goes on first with alkali-resistant glass-fibre mesh bedded into it. K Rend's guidance for its HP12 base coat gives a nominal 4–6mm thickness and requires mesh at stress points such as door and window reveals. A traditional sand-and-cement render is mixed on site and applied as a scratched first coat and a floated second coat, then painted. A through-coloured scraped render goes on much thicker in one or two passes. Whatever the system, each elevation should be finished in one session so that day joints fall at corners or downpipes rather than across an open wall.
Edges, fittings and the details that fail first
Most problems on a re-rendered house start at an edge, not in the middle of a wall. Render carried down over the DPC to the ground can draw moisture up past it, so the bell-cast line matters. Window sills must project far enough beyond the new face to throw water off, with a drip groove underneath; an old sill that ends up nearly flush with the new render will streak the wall below it. Where render meets retained brick or stone, a stop bead gives a clean straight edge instead of a feathered line that cracks away. Downpipes, satellite brackets, lights and alarm boxes have to come off, or be packed out, so the render runs behind them, and someone competent has to refit them.
Weather sets the pace. Cement-based renders and resin finishes should not go on in frost, heavy rain or hot drying wind, and fresh work is often covered with scaffold sheeting to keep rain and strong sun off it. A finish that dries too fast can craze; one that freezes before it has set can lose its bond.
Building regulations and planning on a whole-house job
Covering most of a house in new render is a building-regulations matter as well as a building job. Approved Document L treats rendering the external surface of a wall as renovating a thermal element. Where more than half of that wall is renovated, or more than a quarter of the whole envelope, the guidance expects the whole wall to be brought up to an improved insulation standard if that is technically, functionally and economically feasible, with a specific caution for traditional walls of stone or lime that need to stay vapour-open. Ask building control early, because the answer can turn a re-render into an external wall insulation project.
Planning matters too. Under the householder permitted development rules, cladding any part of a house with render or pebble dash in a conservation area needs planning permission. The Wakefield district has 31 conservation areas, and the Horbury appraisal says the rendering of masonry has undermined that area's character. On a stone-fronted house in a place like that, the right answer may be to repair or repoint the stone rather than cover it.
Common questions
Does the whole house have to come back to bare brick?
No. Render that sounds solid when tapped, has no wide cracks and still holds its coating can sometimes be cleaned, repaired and given a new finish. Full removal is for walls where hollow areas are widespread or the old layers are not compatible with the new system.
Why can the job take longer than the area suggests?
Each layer needs time before the next one. K Rend's TC 15 instructions, for example, want a freshly applied base coat left at least 14 days before the silicone topcoat goes on, and rain or frost can stop work altogether.
See housing and planning information for Wakefield and nearby places, including the source and geography behind each figure.