Render repairs in Wakefield
Render repairs in Wakefield
A render repair fixes a defined area rather than the whole wall: a crack, a hollow patch, a corner knocked off by a car, or render that has blown at the base of a wall. Done well, it stops water getting in and buys the rest of the render more years. Done badly, it is a lump of mortar over a crack that reopens, or a hard patch that pulls away from softer render around it.

On this page
Reading the damage
Different defects point to different causes. Fine crazing across the surface often points to render that dried too fast when it was applied; it is mostly cosmetic but lets some water in. A diagonal crack running from the corner of a window or door points to stress around the opening, often where no mesh was used. A long vertical crack at the junction between a house and an extension is often movement between two different walls. A crack that follows the joints of the brickwork underneath suggests the render has parted from the wall.
Hollow render is found by tapping: a dull, drummy sound shows where the render has lost its bond even if the surface still looks fine. Damage near the ground is often render that was taken down over the DPC and has stayed wet. Staining and repeated failure under a gutter or downpipe points to water, and the SPAB stresses that leaking rainwater goods concentrate wetting on walls. Fix the gutter or pipe first, or the repair will fail again.
- Map the damage Tapping finds hollow areas; cracks and their likely cause are noted.
- Cut back Failed render is cut out to a sound edge, usually squared off.
- Fix the cause Leaking gutters, sills without drips or render below the DPC are dealt with.
- Rebuild in coats Using a material compatible with the surrounding render and masonry.
- Blend the finish Texture is matched; colour may need a coating over the wider area.
The usual order of work. The survey and the chosen products decide the actual steps.
How a patch repair is done
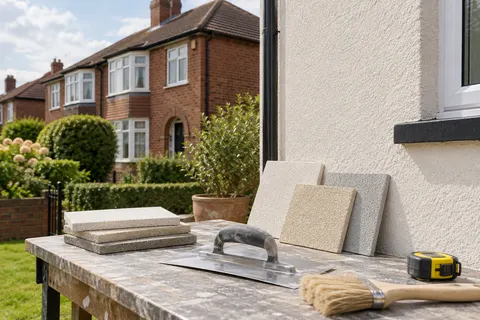
The patch is cut back until the edges sound solid, then squared off with a disc or bolster so the new material has a firm, clean edge to bond to rather than a crumbling one. The backing is brushed down and repaired if bricks have spalled. New render is built up in the same number of coats as the original and to the same thickness, so the patch sits flush. A repair on a wall with a meshed base coat should carry mesh across the old crack; K Rend's HP12 base coat guidance, for example, requires mesh at stress points such as reveals.
Material matters as much as method. A patch must suit the render around it. A strong cement patch on an old lime render is harder and less permeable than its neighbour, and the edges crack. On a silicone or monocouche system, the repair uses the same system's products so the finish texture and colour come close.
Find and fix the water source: gutters, downpipes, sills, copings or bridging at the DPC.
Tap-test round the defect and mark where sound render begins.
Cut the patch back to a neat, square edge in sound render.
Remove loose material, clean the backing and repair any masonry.
Dampen or prime the backing to control suction.
Build the repair up in coats that match the original, with mesh across any crack line.
Finish to match the surrounding texture, then coat or paint if the wall is painted.
Will the repair show?
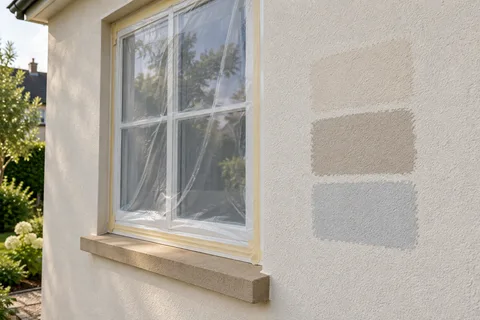
Usually, at least a little. New render on a weathered wall differs in colour and texture, especially on through-coloured finishes. On a painted render, the answer is to repair first and then recoat the whole elevation, so the patch disappears under a uniform finish. Structherm's masonry paint instructions, for instance, say repairs should be carried out before the coating is applied. On a through-coloured render, a local repair will be visible for a while, and the choice is between accepting that or recoating the whole face.
When a repair is not enough
If tapping shows hollow render across a large part of the wall, patch after patch only moves the problem along. A sensible test is whether the sound render left after cutting back is still the majority of the elevation. If it is not, a full strip and re-render is the more reliable job. Repeated cracking along the same line, especially at an extension junction, may need a movement joint designed into the render rather than another filled crack.
Weather affects small jobs as much as big ones. Patches should not be applied in frost or on a hot, windy day when the new render will dry too fast, and fresh repairs on exposed walls are often shaded or sheeted for the first days.
Common questions
Can I just fill a crack with sealant?
A flexible filler can keep water out of a fine crack for a while, but it does not fix hollow render around it. If the render sounds drummy near the crack, it needs cutting out and patching.
Why does the same crack keep coming back?
The cause has not been dealt with. Movement at a junction, a leaking gutter or render bridging the DPC will reopen a repair until it is fixed.
See housing and planning information for Wakefield and nearby places, including the source and geography behind each figure.