Lime rendering in Wakefield
Lime rendering in Wakefield
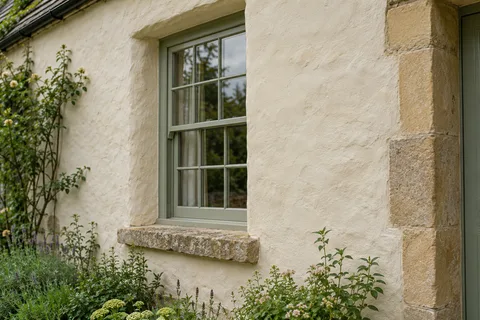
Lime render is the traditional covering for older solid walls. It is softer and more permeable than cement render, so it lets moisture that gets into the wall dry back out through the face instead of trapping it. For a pre-1900 cottage, an old stone wall or a house that was always rendered, it is often the right material. It is also slower and more weather-sensitive to apply than modern systems.

On this page
Why older walls need a different render
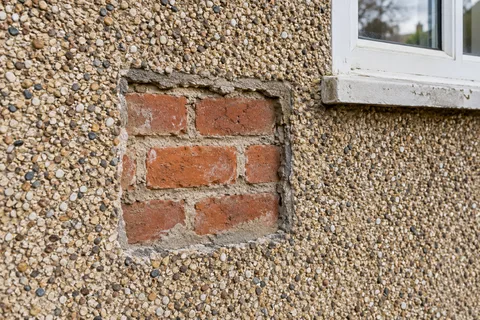
Old solid walls of stone or soft brick, laid in lime mortar, handle water by absorbing it and letting it evaporate. The SPAB explains that a rigid Portland cement render on such a wall tends to develop hairline cracks, because it is harder than the masonry, and those cracks draw water in that then cannot escape. The result can be damp inside, decaying stone or brick behind the render and render that eventually blows off in sheets. Replacing a failed cement render with lime is one of the most common reasons for lime work.
There is local evidence that this matters around Wakefield. The Ossett conservation area appraisal describes pre-industrial vernacular houses there with thick rendered walls, while the Horbury appraisal says the rendering of masonry has undermined that area's character. Both towns stand on Coal Measures sandstone. So lime render is not automatically right on every old wall: on a building meant to show its stone, repairing the stone may be the better choice, while on a cottage that was always rendered, lime is the natural covering.
- Stone or brick masonry Cleaned of loose material and dampened so it does not draw water out too fast.
- First (scratch) coat Often haired; scratched to give the next coat a key.
- Second (floating) coat Applied once the first has firmed up; follows the line of the wall.
- Finish coat Thin final coat, kept damp and shaded while it cures.
- Limewash or mineral paint Optional decoration that keeps the wall permeable.
Wall on the left, finish on the right. Not to scale: coats, thicknesses and primers follow the chosen manufacturer’s system and the condition of the wall.
Taking off a cement render safely
Removal is where old walls are most easily damaged. The SPAB advises great care, warning that levering off large sheets can seriously damage soft underlying material, and recommends removing a small area first as a trial. The trial shows how well the cement is stuck, what is underneath and whether the face of the stone or brick comes away with it. If the wall behind is saturated, the SPAB suggests delaying re-rendering for a short period so it can dry out, and any decayed backing has to be made sound before new render goes on.
How a lime render is built up
Lime render goes on in coats, each thinner than the last. As an example of a manufacturer's figures, the Ironstone guide for its natural hydraulic lime (NHL 3.5) basecoat render gives a scratch coat of 10–12mm, scratched in a crosshatch to about a third of its depth and left seven days, followed by a float coat of 8–10mm that should not be thicker than the scratch coat. Hollows are dubbed out first and kept damp until the scratch coat goes on.
The wall is dampened before each coat so it does not suck the water out of the lime too quickly, and the render is floated when it has stiffened rather than when it is still wet. Other lime products and mixes have their own timings, so the figures belong to the product chosen.
Trial-remove a small area of old render and inspect the masonry behind.
Remove the rest carefully, rake out loose joints and let a saturated wall dry.
Dub out hollows with a stiff lime mix and keep them damp.
Dampen the wall to control suction, then apply the scratch coat and scratch it to key.
Mist the scratch coat and shade it under damp hessian while it gains strength.
Apply the float coat, no thicker than the scratch coat, and compress it with a float.
Cure slowly under damp hessian, then finish with limewash or a breathable mineral finish.
Curing, weather and finishing
Lime hardens slowly, partly by drying and partly by reacting with carbon dioxide in the air, and fresh work can be ruined by sun, wind or frost. Ironstone's guide asks for damp curing by mist spraying, protection from direct sun and drying winds, preferably with damp hessian, and says not to use the render below 5°C or above 30°C. That rules out cold snaps and the hottest days, and exposed walls usually need sheeted scaffolds.
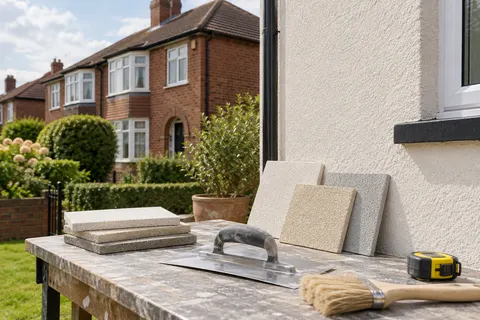
The finish should keep the wall breathable. The SPAB says a traditional limewash will normally be most appropriate and does not recommend standard modern paints or water-repellent treatments on lime. Limewash wears back gradually and is renewed as it weathers. Building regulations also allow for this: Approved Document L says energy improvements to traditional walls of stone or lime should only be made where they will not cause long-term deterioration of the fabric.
Common questions
Can lime render go over the existing cement render?
No. The cement layer would still trap moisture behind it. Lime needs to bond to the masonry itself, so the cement is removed carefully first.
Can I paint a lime render with masonry paint?
The SPAB does not recommend standard modern paints on lime. Limewash or a breathable mineral finish keeps the wall able to dry out.
See housing and planning information for Wakefield and nearby places, including the source and geography behind each figure.